How Can I Add Drainage to my Corten Steel Planters?
Date:2025.12.31
Share to:
Did you splurge on a stunning weathering steel planter only to find your plants wilting? Does the sight of rust stains dotting your patio floor leave you heartbroken yet helpless?
Weathering steel planters have become a “viral hit” in gardens and commercial landscapes, thanks to their industrial aesthetic and 25+ year lifespan. But the metal's heat and water retention properties make drainage its ‘lifeline’—poor drainage not only causes soil compaction and root rot but also accelerates corrosion at the planter's base, turning expensive hard landscaping into a “patchwork mess.”
Drawing on landscape designers' practical experience, this article offers a zero-barrier, cost-effective drainage solution that saves your plants, protects surfaces, and extends the life of your corten steel planter—perfectly aligned with Google's algorithm preference for “solving real user problems”!
Scientific Drilling Placement: The Golden Foundation of Drainage Systems
1. Does Your Planter Need Additional Drainage Holes?
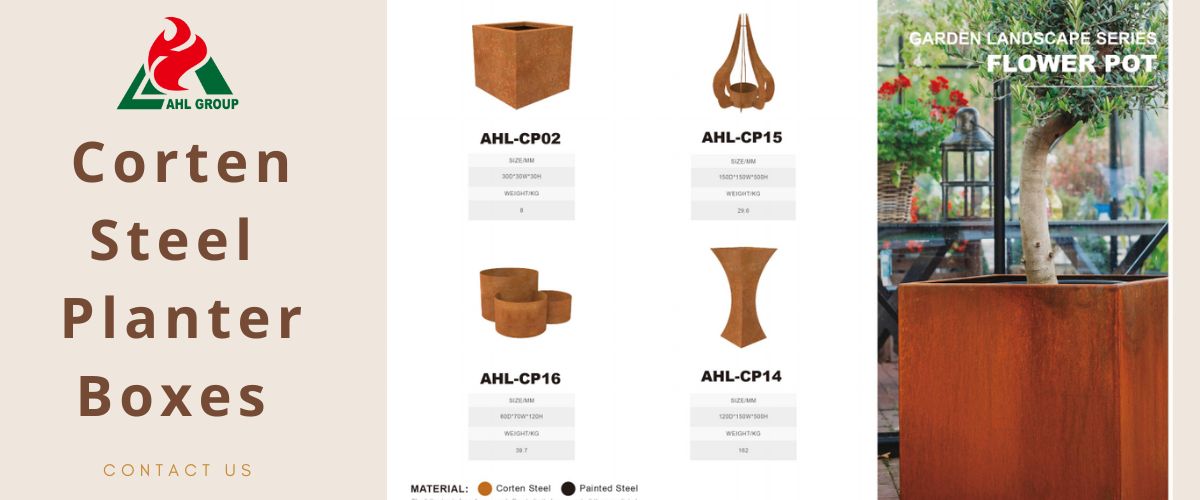
High-quality custom corten steel planters (like AHL brand products) come factory-drilled with drainage holes. Their diameter and quantity are professionally calculated, requiring no additional work.
If your planter is hole-free (or secondhand), manual drilling is the first and most critical step—don't skip it!
2. Hole Size & Quantity: Follow the “Many Small Holes > Single Large Hole” Rule
Hole size selection: Prioritize drilling 20mm (approx. 3/4 inch) holes — too small risks clogging, too large causes soil leakage. 20mm strikes the optimal balance between drainage and leak prevention.
Quantity standards: Small planters (≤50cm) require at least 3-4 holes; medium planters (50-100cm) need 6-8 holes; large planters (>100cm) should add one hole per 30cm increment. Ensure even distribution to prevent localized waterlogging.
3. Rectangular Planter Specific: Drill Holes At 30cm Intervals To Eliminate “Waterlogged Dead Zones.”
Rectangular trough planters are a common choice for garden borders, but their ends are most prone to water accumulation and root rot! Practical tip: Drill holes every 30 cm (approx. 12 inches) along the planter's length, angling them slightly outward to channel water swiftly away.
Elevated Planters For Airflow: The Ingenious Use of “Planter Feet”
1. Fatal Mistake: Planters Placed Directly On The Ground
90% of weathering steel planter corrosion and floor rust stains stem from “planters resting directly on hard surfaces”! This creates a vacuum layer at the bottom: trapped moisture accelerates rusting, while rusty water seeps into tile grout, forming stubborn stains that won't wipe away!
2. Elevated Planters: The Hidden Perks
Elevating your planter allows air to circulate beneath, accelerating moisture evaporation to prevent root rot. It also lets rusty water dry quickly, drastically reducing soil contamination risk—solving big problems with a small investment!
Layered Construction: Creating an Efficient Internal Drainage System
Many people drill holes and immediately fill them with soil, only to find the drainage clogs again shortly after! The correct approach is “three-layer installation” — low-cost, highly effective, and the standard practice in professional landscaping projects!
Layer 1: Clog-Prevention Filter Layer
Place a layer of geotextile fabric (landscape non-woven fabric) over the drainage holes at the bottom of the planter box, cut slightly larger than the box base. Function: Prevents soil particles from entering drainage holes, avoiding blockages while allowing water to permeate. Avoid using regular gauze, which deteriorates easily. Geotextile fabric lasts over 5 years!
Layer 2: Drainage Aggregate Layer
Above the filter fabric lies a 5-10 cm thick layer of volcanic rock / expanded clay aggregate (LECA) / clean gravel—this is the core of the drainage system! Key point: Do not use broken tiles! Sharp edges can puncture the geotextile, and they provide uneven water storage. Expanded clay aggregate is the optimal solution for large planters—it drains quickly and prevents soil compaction.
Layer 3: Soil-Water Separation Layer
Place another layer of geotextile over the aggregate layer! 90% of people skip this step, yet it's crucial for preventing drainage system failure. Function: Completely separates growing soil from drainage aggregate, preventing soil infiltration into gaps and ensuring long-term drainage efficiency—one installation, five years of worry-free use!
Advanced Water Control Solutions: Solving Rust Water Pollution
1. Why Does Rust Water Leak Out? Is It Normal?
During the initial 6-12 months of use, corten steel planters develop an oxide layer (patina) on their surface. Rusty water leaking during this process is normal and not a quality issue! Once the patina stabilizes, rusting will naturally decrease or disappear. Therefore, our approach focuses on “short-term management” rather than a “permanent cure.”
2. Two Practical Solutions: Collection Method vs. Redirection Method—Choose Based on Your Needs
Solution 1: Collection Method (Ideal for Balconies/Terraces, Zero Pollution)
Home Edition: Place an invisible drip tray beneath the planter. Periodically empty accumulated rust water—simple, direct, and effective.
Professional Edition: Opt for planters with built-in water reservoirs. This collects rust water while enabling water-fertilizer integration—killing two birds with one stone.
Solution 2: Drainage Method (Suitable for Garden Borders, Blends into Landscape)
Align planter drainage holes with gravel beds or blind ditches, directing runoff directly into permeable zones. This prevents contact with tile, stone, or other stain-prone surfaces—a completely invisible solution that preserves garden aesthetics.
Never fill weathering steel planters with ordinary garden soil! In a sealed metal container, garden soil compacts easily, clogging pores and rendering your drainage system useless—leading to root rot.
2. Ideal Mix: Lightweight, Soilless Substrate With Insane Permeability
Recommended Formula (Copy-paste for beginners): 3 parts perlite + 2 parts vermiculite + 5 parts pine bark This soilless mix is lightweight, breathable, and drains lightning-fast—excess water drains within seconds after watering, preventing root suffocation while supplying ample oxygen. Plants thrive 10 times better than in garden soil!
3 Common Drainage Mistakes (Avoiding Them = Half the Battle)
Misconception 1: Blocking Holes with Heavy Stones — Believing it prevents soil leakage, but creates a “water pool” that doubles root rot speed;
Misconception 2: Confusing “potting soil” with “growing medium” — Regular potting soil retains too much moisture and is unsuitable for metal planters. Always choose a specialized medium labeled “loose and breathable”;
Misconception 3: Neglecting planter slope — Failing to tilt the corten steel planter toward the drainage hole during installation traps water, rendering all your efforts useless!
Essential FAQ for Owners: Answers to Your Top 10 Questions
1. Can I Drill Additional Holes in Corten Planters? Will It Damage The Structure?
Absolutely! Weathering steel is extremely strong. Drilling with a metal drill bit creates a natural protective oxide layer at the cut edge, preventing abnormal rusting and maintaining the planter's overall stability.
2. Can a Proper Drainage System Prevent Planters From Freezing And Cracking In Winter?
Absolutely! When soil water freezes in winter, its volume expands, exerting immense pressure on box joints and causing deformation or cracking. Efficient drainage eliminates water accumulation at its source, protecting the box from freeze damage.
3. Will Rust Water Leakage Persist Indefinitely?
No! Typically, within 6-12 months, the weathering steel surface develops a stable patina, significantly reducing or eliminating rust water runoff. The exact timeline depends on local climate (slightly longer in humid regions).
4. Is It Safe to Grow Vegetables in Corten Planters? Will Heavy Metals Exceed Standards?
Absolutely safe! Weathering steel primarily consists of steel, copper, chromium, and nickel. Once the patina stabilizes, its properties remain consistent. Trace amounts of iron oxide leaching into the soil are harmless and can even supplement iron for vegetables—plant with confidence!
5. Should I Paint the Inner Walls of the Planter to Prevent Rust?
Not recommended! The core advantage of weathering steel is its “self-rusting” property. Painting prevents the oxidation layer from forming. If the paint peels, moisture seeping beneath it can cause severe localized hidden corrosion, shortening its lifespan.
6. Why Use Two Layers of Geotextile? Isn't One Enough?
One layer is definitely not enough! The first layer prevents soil from clogging the drainage holes, while the second layer stops soil from seeping into the aggregate layer. Dual protection ensures the drainage system operates efficiently long-term, avoiding future repairs.
7. Is It Really Necessary To Elevate The Planter Base? It Seems So Troublesome!
Essential! Elevation is a crucial step for “corrosion prevention + protecting the ground surface.” A 5-minute installation can extend the planter's lifespan by 5-10 years and eliminate the hassle of cleaning rust stains. Don't skip this step!
8. Can Large Weathering Steel Planters Be Filled With Regular Garden Soil?
Strongly discouraged! Garden soil compacts quickly and drains poorly, forming a “dead water layer” in large planters that causes root rot. Lightweight, specialized growing medium is the correct choice—it's breathable, drains well, and promotes healthier plant growth.
9. Will Metal Planters “Burn” Plant Roots During Summer Heat?
Usually not! Thick growing medium + efficient drainage provide effective insulation. In extreme heat zones, add a thin foam board lining inside the planter for enhanced thermal protection.
10. How Should Rust-Stained Ground Surfaces Be Cleaned?
Use oxalic acid-based rust removers! Note: Always test on an inconspicuous area first to avoid damaging high-end stone/tiles. Rinse thoroughly with water afterward to prevent residual chemicals from damaging the surface.
Ensure Proper Drainage to Keep Your Weathering Steel Planter Beautiful for 25 Years
Drainage setup for corten steel planters is never as simple as “drilling a few holes”—it's a dual challenge of engineering technology and plant care. By following these four steps—“scientific drilling + raised planter base + layered drainage + rust water management”—you can completely prevent root rot and rust stains. This ensures your weathering steel planter remains both visually appealing and functional, truly maximizing its 25+ year lifespan advantage!
Take Action Now
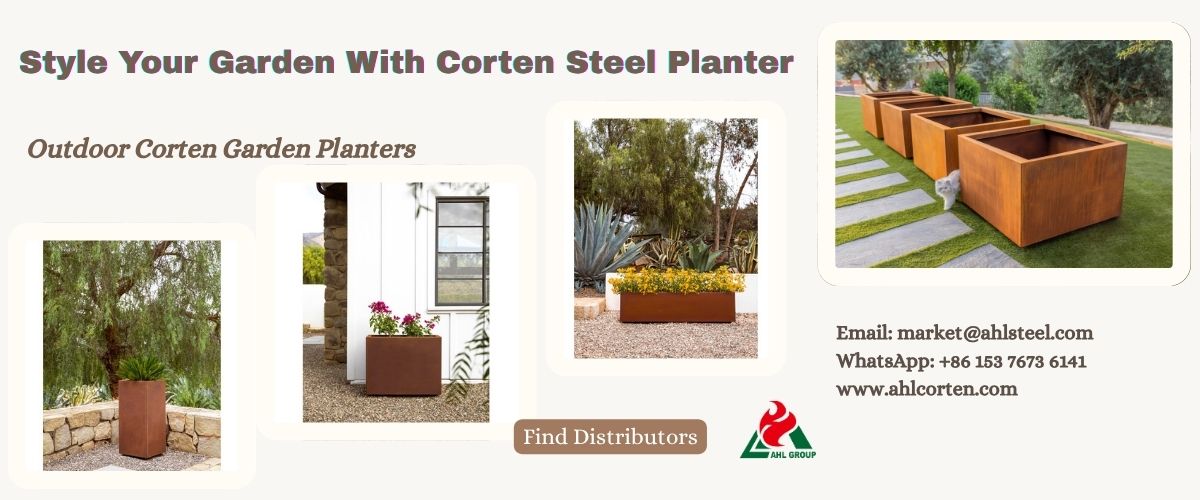
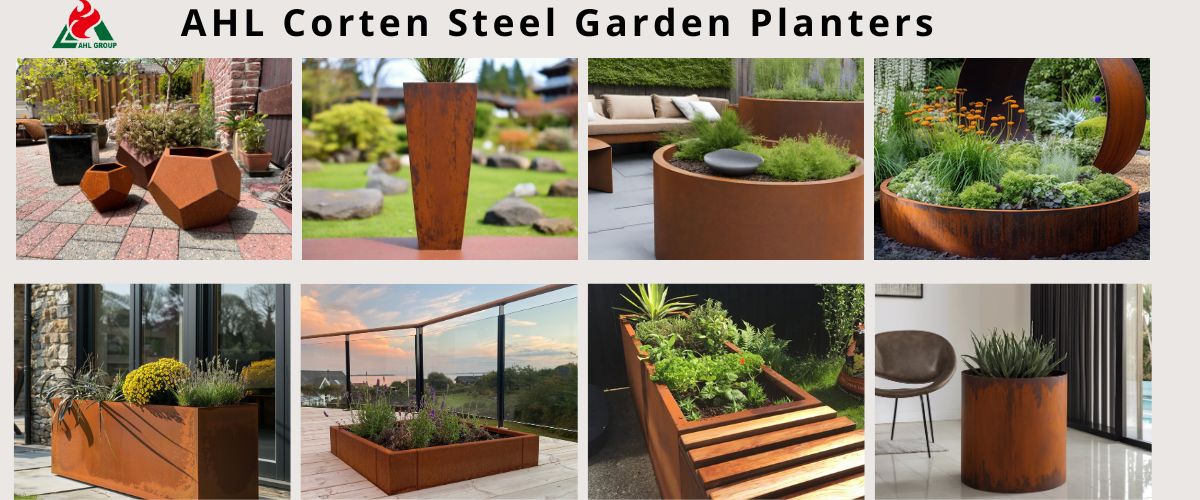
Need a customized drainage solution? Or looking to purchase pre-drilled, base-mounted architectural-grade weathering steel planters? Contact us immediately for a quote and explore the AHL Weathering Steel Planter Series. Receive one-on-one project recommendations from our expert team and double the visual appeal of your garden!

.jpg)
.jpg)